
Add Salesforce project to a new Git repository

As a developer, when for first time, I thought of using Git as my central repository, I had no clue how to do it. After searching, I found that there are so many users who are looking for way to use Git with Salesforce project, but because of non-availability of guide, they can't. I was lucky to figure out how to do it. So below I am going to share first step i.e. how to push your code base to Git repository for the first time.


  1. Login to https://github.com
  2. Scroll down to find 'New Repository' link on the left bottom. 
  3. Click on 'New Repository' button and it will open  new repository butoon like below:- 
  4. Enter name of repository in 'Repository Name' box. Github will check if this name is already used, if not then it will let you use this name. You can select 'Public' or 'Private' based upon your requirement. For 'Private' repository you will need buy license. For simplicity I have keep my repository as 'Public'. Click on 'Create Repository' button. 
  5. Your new repository is created. Copy address of your repository:- 
  6. Assuming you already have eGit plug-in installed in your Eclipse IDE and you have created your project in IDE. Right click on project and select Team >> Share Project. 
  7. Select 'Git' from pop-up window and click 'Next'. 
  8. Select 'Repository' location. For simplicity I have selected 'Use or create repository in parent folder of project' and check your project in box where 'Current Location' and 'Target Location' is given. Eclipse will show a warning saying it's not best practice to create git file in your workspace folder. To ignore it click on 'Create Repository' button. and click on 'Finish'. 
  9. Since this is first time you are going to push your code base to git repo. You will need to add your project to index. To do so, right click on project and select Team >> Add to Index
  10. Now, it time to push your code base to git repo. Right click on project and select Team >> Commit
  11. It will open below screen. Enter your 'Commit Message' and leaving everything default click on 'Commit' button. 
  12. In the next window, enter the url of your git repository copied in step 5 and enter in 'URI' window. It will automatically populate 'Host' and 'Repository path' boxes. Also enter your credential in 'Authentication' section and click 'Next'. 
  13. In the next window you can select your Source & Destination ref. For simplicity I have clicked on 'Add All Branches Spec' and click on 'Next'. 
  14. Next page is 'Push Confirmation'. Click on 'Finish'. 
  15. Next page will push the code base to git repo. It will show progress and will take while to complete. 
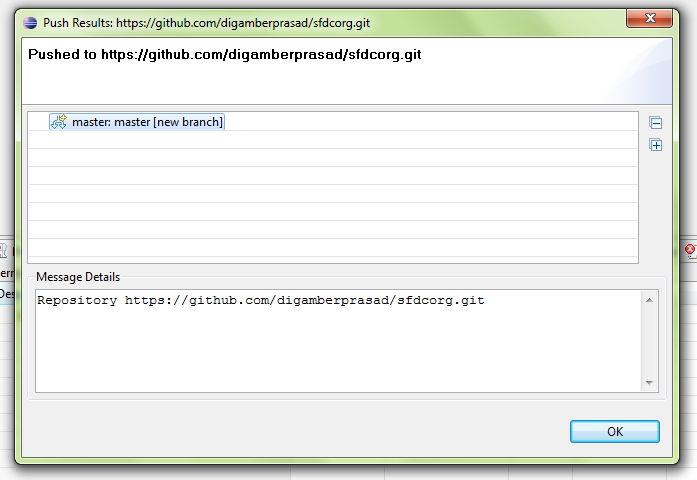
  16. Once it's done, it will show a final message. Click on 'Ok' button. 
  17. Go to Github and traverse your create repo. Now you should be able to see your code base. 


Comments

Popular posts from this blog

Mashup Integration in Salesforce

During preparation for TA certification exam, I came across a word Mashup for integration a number of times. I explored about it and below is description:- Mashups, sometimes called “composites,” are hybrid applications created by bringing together several data sources and Web services to create a new application or to add value to an existing application. Behind the scenes, mashups may require different levels of integration, depending on whether the mashed-up data is only meant to be viewed, whether it can be edited, and whether data is actually transferred between systems. There are three types of mashup:- Client Presentation Mashup - In this type of mashup the integration takes place strictly at the visual level. It makes possible to view data from two or more applications in a browser,  without actually moving data between the applications. Example - Google Maps. Client Service Mashup - As mashups evolve, they are becoming more complex and sophisticated. Client ser

Grant Access Using Hierarchies

Problem There is a custom object say 'XYZ' and OWD for this is set to ' Private ', which means record of this can be seen by only owner and users above in role-hierarchy and territory. However, to share this with other user, we can manually share it. The problem is that I don't want other users, who are above in role-hierarchy and territory of the user with whom record has shared, can see it. Solution We can un-check ' Grant Access Using Hierarchies ' check box for object 'XYZ' on 'Sharing Settings' page. We can go to Setup >> Security Controls >> Sharing Settings and click on ' Edit ' button. On the edit page, we can un-check ' Grant Access Using Hierarchies ' for required object.  Major uses of 'Grant Access Using Hierarchies' are:- If you disable the Grant Access Using Hierarchies option, sharing with a role or territory and subordinates only shares with the users directly asso

ReadOnly Annotation

Use Case:- You want to show up to 10000 record on single VF page. Count of records based upon some business requirement where number of records could go up to 1 million. So far, it was not possible to achieve above in VF page because of following limitations:- The maximum number of items in a collection that can be iterated over using components such as <apex:dataTable> , <apex:dataList> , and <apex:repeat> is 1000. Normally, queries for a single Visualforce page request may not retrieve more than 50,000 rows. Solution:- But with API version 23.0 , salesforce has introduced ' ReadOnly ' annotation which has following functionality/restriction:- The @ReadOnly annotation allows you to perform unrestricted queries against the Force.comdatabase. All other limits still apply. It's important to note that this annotation, while removing the limit of the number of returned rows for a request, blocks you from performing the following operations